To spec custom foam inserts for cases, start with the device list, exact inner case size, cavity layout, foam choice, pull clearance and target quantity. A factory can quote more accurately when it knows what each cavity must hold, how tight the fit should feel, and whether the insert will be hand-cut, die-cut or formed for repeat production.
Quick Answer: Custom Insert Spec Checklist
| Spec Item | What to Send | Why It Matters |
|---|---|---|
| Case inner size | Inner length, width and depth | The insert must fit the shell without buckling or leaving gaps |
| Device list | Camera body, lens, batteries, mount, cable, tools | Defines cavity count and spacing |
| Real measurements | Physical sample or measured drawings | Reduces sampling rounds caused by spec-sheet gaps |
| Fit preference | Snug hold, easy-pull hold or display-style hold | Controls clearance and user experience |
| Foam or liner type | EVA, PU foam, fabric-covered foam, divider structure | Affects support, look and cost |
| Surface finish | Plain, laminated fabric, velvet-like top, printed labels | Changes retail feel and brand presentation |
| Quantity and timeline | Trial order, launch order, repeat order | Helps choose hand-cut, die-cut or formed process |
What Is a Custom Foam Insert?
A custom foam insert is a shaped interior component that holds a device and its accessories inside a case. It can be simple, such as one camera cavity and one battery slot, or complex, such as a multi-layer layout for camera body, lens, charging cable, memory cards and mounting tools.
The goal is not only to make the case look organized. The insert must reduce movement. If the camera can slide inside the case, the shell is doing only part of the job. A well-made foam insert or divider system keeps the most fragile zones away from hard edges and loose accessories.
There are several construction paths:
| Insert Type | Strength | Limitation | Typical Use |
|---|---|---|---|
| Hand-cut foam insert | Flexible for prototypes | Less consistent for larger orders | Sampling, low-volume tests |
| Die-cut foam insert | Clean and repeatable | Layout should be finalized first | Retail case sets |
| Formed component insert | Better shape consistency and cleaner appearance | Needs more development control | Branded OEM cases |
| Sewn divider / organizer | Flexible and lightweight | Less precise than a fixed cavity | Camera bags, lens organizers |
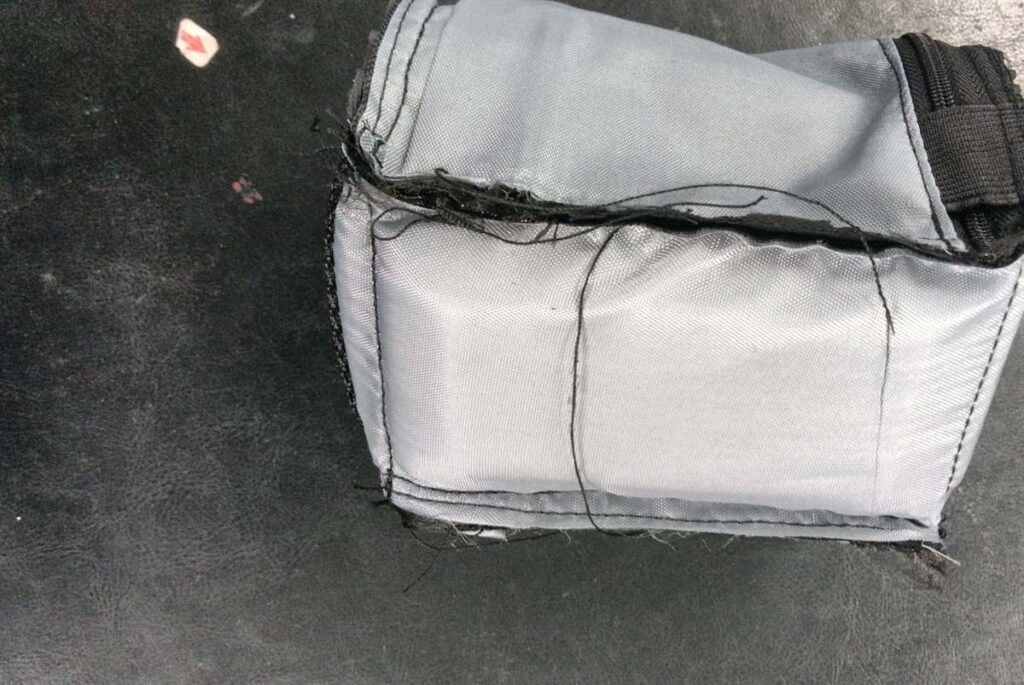
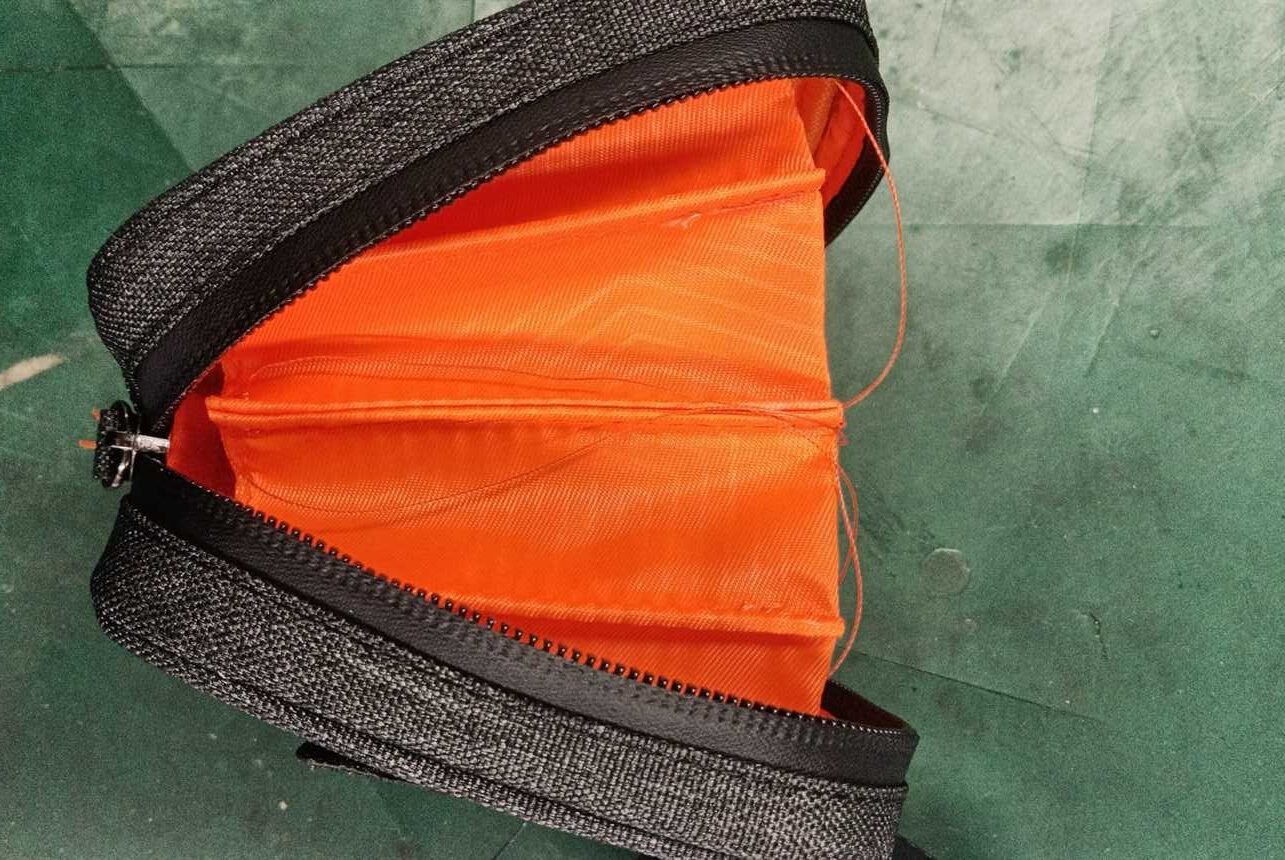
Factory evidence: R150 records lens case assembly work, and R080 records divider stitching inside a case structure. Together they show that an insert is not only a cut foam block; it must match the shell, lining, zipper path and assembly sequence. Evidence IDs: MFG-STITCH-001, MFG-QC-001.
How to Spec the Layout
A useful layout starts with the real kit, not a generic rectangle.
First, list every item that must go into the case: camera body, lens, spare batteries, charging cable, mount, strap, card reader and cleaning cloth. Then decide which items need fixed cavities and which can share an open pocket.
Second, map the user action. The item used most often should be easiest to remove. A battery cavity that looks efficient on paper may feel annoying if the user must pinch too hard to pull it out.
Third, allow clearance without creating rattle. This is the hardest balance. Too tight and the user damages the foam while removing the device; too loose and the camera shifts during carry. A physical sample helps the factory tune this because real devices often differ from published dimensions at buttons, lens rings and protective films.
Fourth, add finger notches or pull areas. A clean cavity is not finished until the user can remove the product easily.
Finally, confirm stacking. If a cable sits above a camera lens, the insert may look compact but fail in daily use. Good insert layout separates hard accessories from screens, lenses and polished surfaces.
Foam, Divider and Lining Choices
The phrase “custom foam inserts for cases” covers more than one material. The right choice depends on device weight, desired feel and the retail tier.
EVA or firmer foam gives stronger structure and is common in hard shell cases. Softer foam or fabric-covered padding feels better when the product is lightweight or when the buyer wants a premium unboxing experience. Sewn dividers are useful for camera bags because they allow flexible storage, but they do not create the same locked-in fit as a shaped insert.
For premium cases, a hybrid interior often works better than one material alone. For example, a shaped base can locate the device, while a soft lining reduces rubbing and a fabric-covered divider organizes accessories. This improves both protection and perceived value.
Do not choose foam only by color or thickness. Ask how it compresses, how the edge looks after cutting, whether the surface sheds particles, and whether the insert still fits after lamination or fabric wrapping.
What Files Should You Send to the Factory?
The faster you want a quote, the cleaner your input should be.
Send these items when possible:
- Device model name and real device photos from multiple angles.
- Physical sample or measured drawing of the camera and accessories.
- Case inner dimensions, or the case shell sample if already selected.
- A rough top-view layout showing each cavity.
- Fit notes, such as “easy to lift with two fingers” or “display-style snug fit.”
- Logo artwork if the insert, lining or case exterior will be branded.
- Target quantity, packaging style and launch deadline.
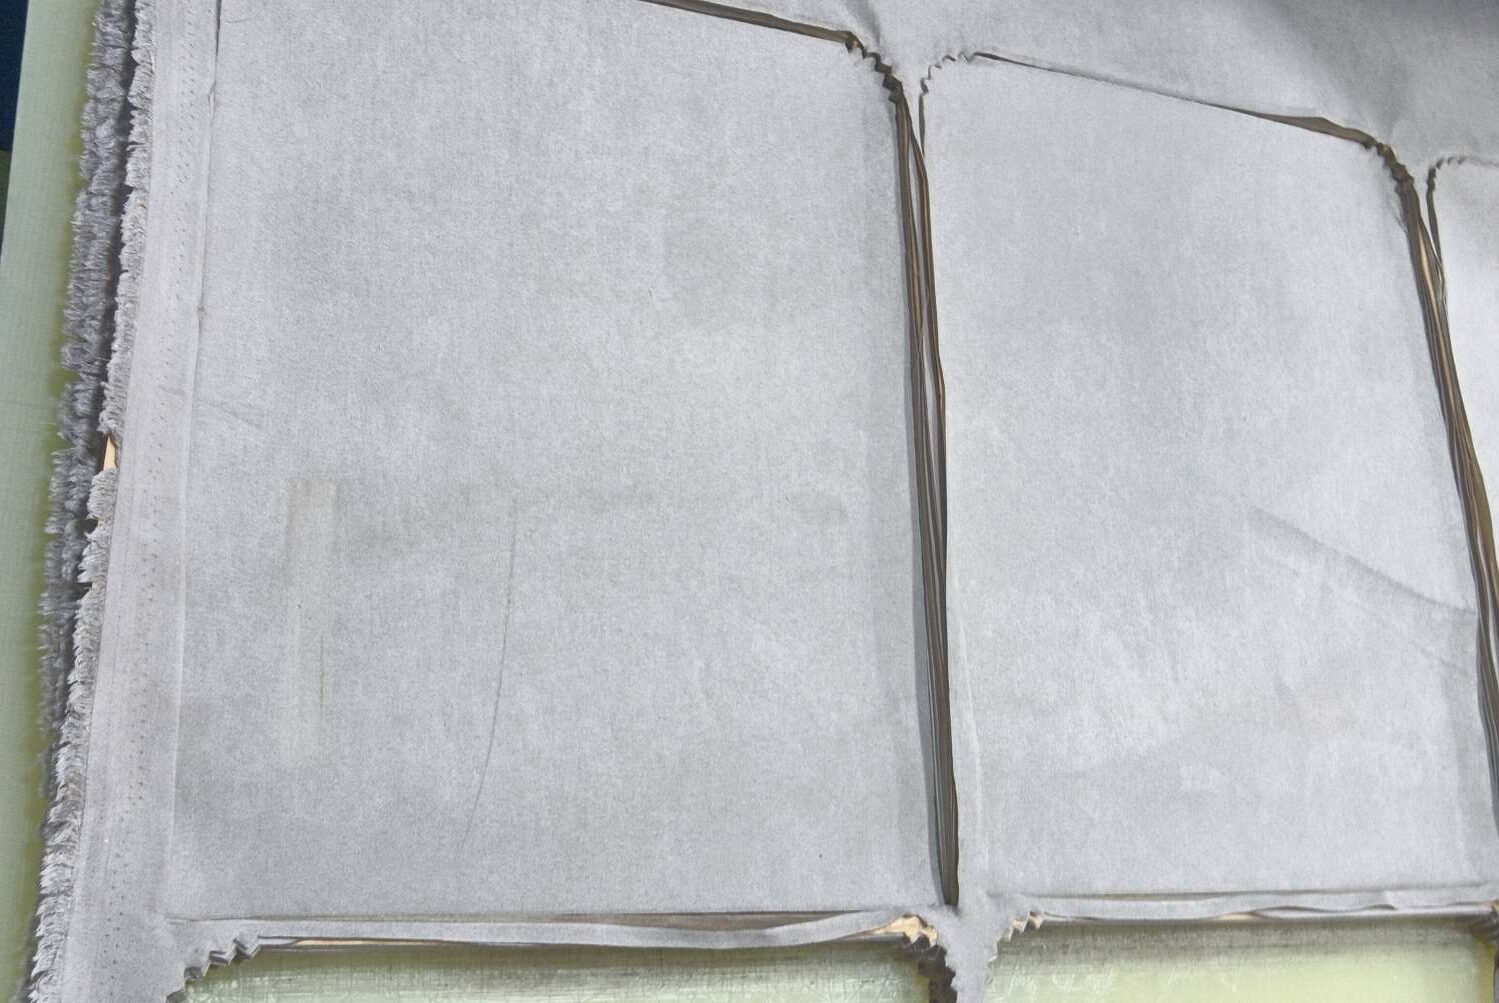
Factory evidence: R105 records material cutting precision work. For custom inserts, cutting accuracy and layout control matter because small shape differences can affect whether the insert drops cleanly into the shell. Evidence ID: MFG-QC-001.
How Factories Turn a Spec Into a Repeatable Insert
Once the factory receives the device details, it normally turns the request into a layout drawing, sample insert and fit test. The sample is checked against the real device, not only against a drawing. If the camera is hard to remove, if the lid presses on an accessory, or if the zipper catches the lining, the layout should be adjusted before order confirmation.
Repeatability is the point of factory development. One beautiful sample is not enough. The insert has to stay consistent across production, which is why edge finish, cavity spacing, material behavior and assembly sequence all matter.
For a branded OEM project, ask the factory to confirm:
| Checkpoint | What to Confirm |
|---|---|
| Fit test | Device sits securely and removes without damage |
| Accessory spacing | Hard accessories do not contact lens or screen |
| Insert-to-shell fit | Insert does not buckle, lift or shift |
| Surface quality | No rough cut edge or obvious shedding |
| Production consistency | Sample matches the intended batch method |
FAQ: Rank Math FAQ
How do I spec a custom foam insert?
Send the case inner dimensions, device list, real measurements, preferred layout, foam type, fit preference and target quantity. A physical device sample is the most reliable way to tune cavity clearance before production.
What files do you need for a custom insert?
Useful files include device photos, measured drawings, case inner dimensions, a rough top-view layout, logo artwork and any packaging requirement. If the product already exists, sending a physical sample can reduce guessing.
Die-cut vs pick-and-pluck foam: which should I choose?
Die-cut foam is cleaner and more repeatable for retail products. Pick-and-pluck foam is more flexible for end users, but it usually looks less refined and is harder to keep consistent for a branded case line.
What is the MOQ for custom foam inserts?
The standard minimum order quantity (MOQ) for this product family is 1000 units per order.
Can you match my existing case?
Yes, if the factory receives the case inner dimensions or a shell sample. The insert can then be designed to fit that shell while holding the device and accessories in the required layout.