A camera lens is safest when stored with both caps fitted, a clean padded contact surface, stable room conditions and enough separation to prevent rubbing. For brands developing a lens case or pouch, the key design decision is not simply “soft or hard”; it is how the interior controls movement, moisture exposure and removal force.
This guide explains a practical storage logic for lens-case buyers, camera accessory brands and OEM teams. It also shows which case details should be fixed before a factory quotes a repeatable production version.
Quick Answer
| Storage decision | Recommended direction | Why it matters |
|---|---|---|
| Lens caps | Fit the front and rear caps before storage | Reduces dust and accidental contact |
| Interior | Use a clean padded cavity or sleeve | Limits rubbing during transport |
| Moisture | Let a warm lens return to room conditions before sealing | Reduces trapped condensation |
| Layout | Separate each lens and protect hard accessories | Prevents scratches and movement |
| OEM case | Confirm real lens samples, cavity clearance and quantity | Makes the sample represent the launch product |
What Proper Lens Storage Looks Like
The first rule is simple: the lens should not touch another lens, a bare zipper coil or an unprotected metal accessory. A cap protects the optical surfaces, but the case still needs to control movement around the barrel. A loose pouch can allow the lens to roll, while an overly tight cavity can make removal awkward and put pressure on the wrong contact zones.
The second rule is dry handling. If a lens has moved from a cold outdoor location into a warm room, allow surface condensation to clear before closing it in a case. A case should organize and cushion the lens; it should not be presented as a substitute for controlled storage conditions or optical servicing.
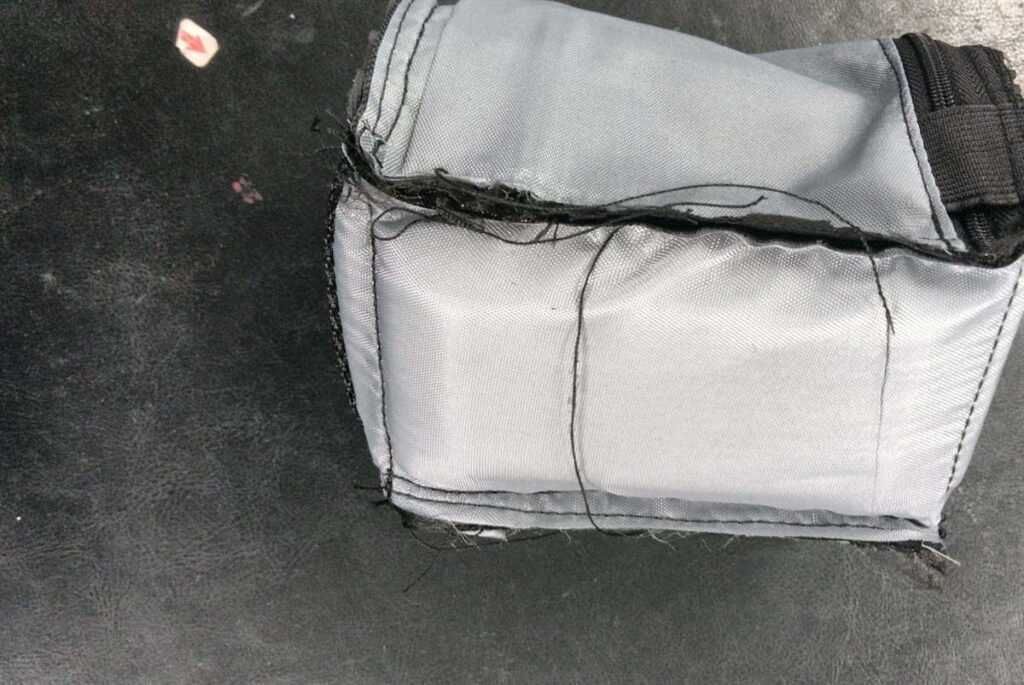
Factory evidence: R150 records lens-case body assembly work. That matters because the storage experience depends on the assembled body, lining, opening and cavity order working together. Evidence ID: MFG-FILTER-001, status REVIEW.
How to Design the Interior Layout
For a single-lens pouch, define the lens diameter, overall length, cap configuration and preferred removal motion. For a multi-lens case, list every lens separately instead of designing one generic round pocket. Different barrels, collars and caps can change the cavity shape even when the nominal lens family sounds similar.
Use a layout with a clear hierarchy:
- Put the most frequently used lens nearest the main opening.
- Keep hard items such as adapters or metal rings in a separate pocket.
- Add a finger-access zone so the user does not pull on the glass area.
- Keep the zipper path away from the highest-contact portion of the lens.
- Confirm whether a cleaning cloth, filter case or rear cap must share the pouch.
The factory should receive real samples or measured drawings from several angles. Published dimensions are useful for planning, but they rarely show every collar, button, rubber grip or cap transition. For OEM work, fit approval should be based on the physical sample and the approved layout drawing.
Choosing a Lens Case or Pouch Construction
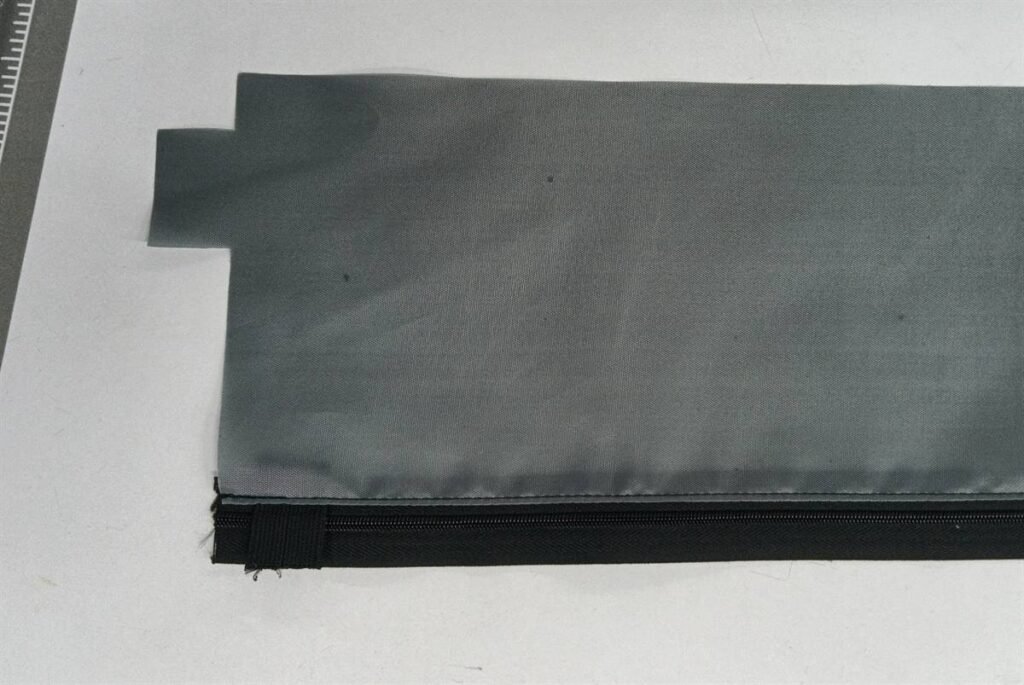
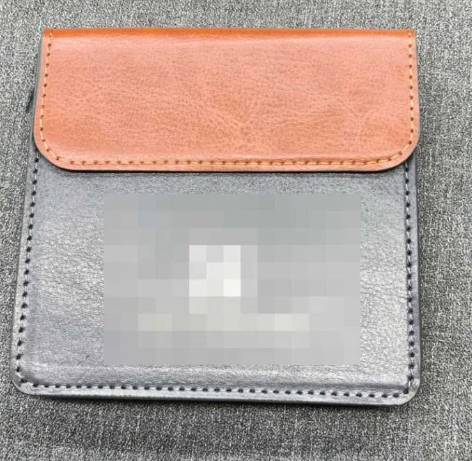
A structured lens case gives stronger shape retention and a more defined cavity. A sewn padded pouch is lighter and easier to nest in a camera bag. A semi-formed construction can sit between these choices, offering a cleaner silhouette while retaining a softer hand feel. The right format depends on the lens weight, the retail position and how often the user removes the lens.
Ask the factory to compare the following points rather than asking only for “a protective lens bag”:
| Checkpoint | Question for the supplier |
|---|---|
| Surface | Will the lining shed or leave visible fibers? |
| Cavity | Does the lens stay centered when the pouch is carried vertically? |
| Opening | Can the user remove the lens without pulling on the barrel? |
| Hardware | Does the zipper or closure sit away from the optical surfaces? |
| Repeatability | Can the approved sample be matched across the intended batch? |
OEM Checks Before Launch
Send the factory the lens list, physical samples or measured drawings, desired outer size, lining preference, closure type, logo artwork and target quantity. Also identify whether the pouch is sold alone, bundled with a camera bag or included in a full creator kit.
For launch control, approve one fit sample and one appearance sample. Check the lens insertion force, zipper clearance, lining cleanliness, seam alignment and the case response after repeated opening. Do not approve from a flat photo alone. A pouch can look correct while the cavity is too loose or the opening is difficult to use.
Finished products are inspected for alignment, assembly and visible defects before packing in the referenced production evidence. Evidence ID: MFG-QC-001, status REVIEW. This wording remains a candidate claim and requires production and brand approval before publication.
FAQ – Use Rank Math FAQ Block
How should camera lenses be stored?
Store lenses with both caps fitted, separated from hard accessories, and protected from rubbing, dust and trapped condensation. A padded cavity or dedicated lens pouch is usually easier to control than a loose compartment.
Should a lens be stored in a bag or case?
A case gives more structure and cavity control, while a padded bag is lighter and more flexible. The suitable option depends on lens weight, transport conditions, removal frequency and the required retail format.
How do I design a custom lens pouch?
Start with real lens dimensions, cap configuration, removal motion, lining preference, closure position and target quantity. A physical sample helps the factory tune clearance before production.
Can an OEM lens case include several lens sizes?
Yes, but each size should have a defined cavity or adjustable structure. A single loose cavity can increase movement and reduce the perceived quality of the kit.
What is the MOQ for a custom lens case?
The standard minimum order quantity (MOQ) for this product family is 1000 units per order.