Camera bag dividers are the right starting point when a buyer needs flexible organization, while fixed insert kits are better when the device positions must stay repeatable. A practical OEM decision depends on camera and lens sizes, removal frequency, case depth, protection zones and the required retail presentation.
This guide separates the main insert formats and explains what a brand should send to a factory before sampling. The goal is a usable layout brief, not a generic foam recommendation.
Quick Answer
| Format | Suitable for | Main trade-off |
|---|---|---|
| Hook-and-loop divider | Flexible camera bags | Easy to move, less fixed than a shaped cavity |
| Padded divider kit | Mixed creator gear | Good adaptability, moderate positional control |
| Die-cut foam insert | Defined retail kit | Clean layout, less flexible after approval |
| Formed insert | Premium repeatable case | Strong shape control, more development work |
| Hybrid layout | Camera plus accessories | Balances fixed protection and open storage |
The Main Divider and Insert Formats
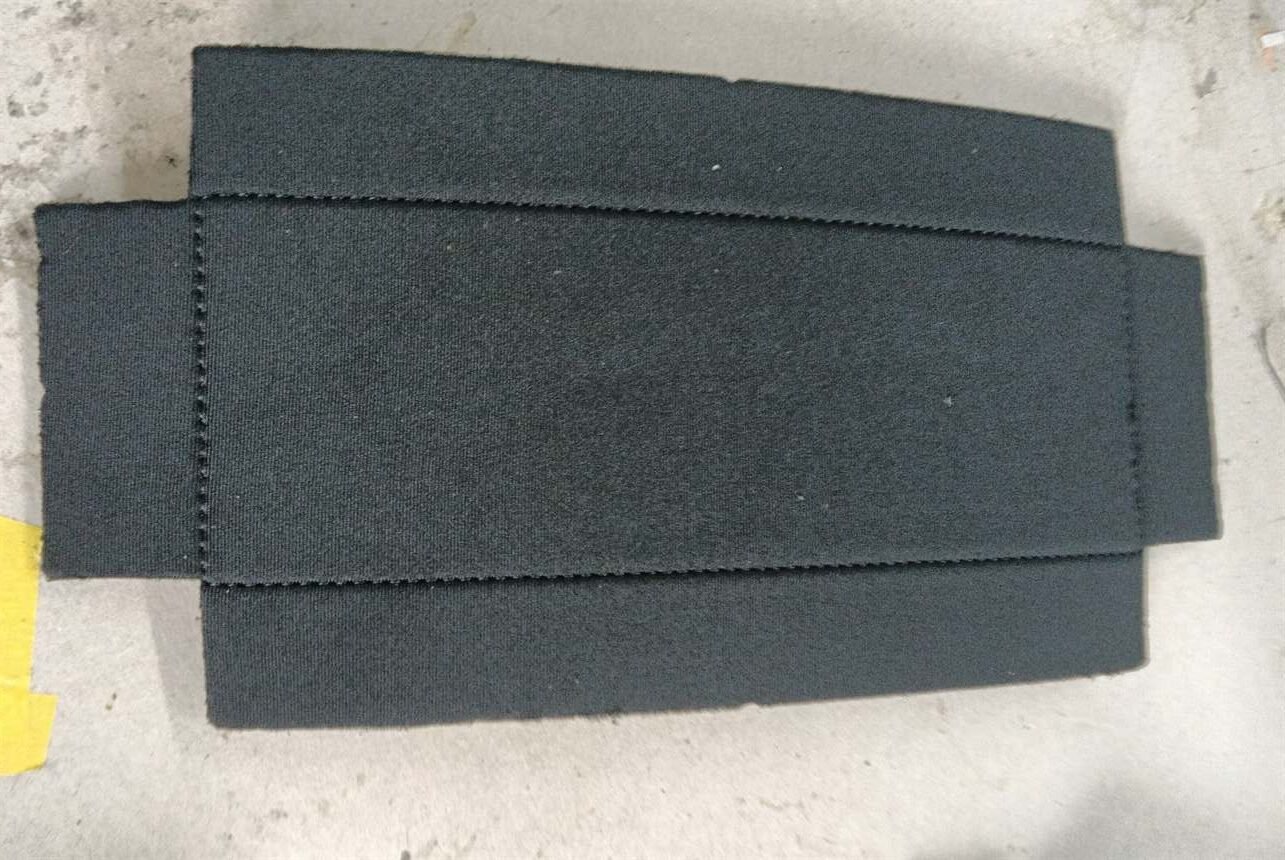
Flexible dividers create compartments inside a camera bag. They work well when users change the lens, battery or accessory mix. The divider should have enough structure to stay upright, but it should also allow a new layout without damaging the bag lining.
A padded insert is more protective than an empty compartment because it creates a defined contact surface. It can be sewn, laminated or assembled as a removable organizer. A fixed foam insert goes further by shaping cavities around the camera body, lens or accessories. It gives better positional control but requires the device list to be stable.
A hybrid system combines fixed protection for the camera and lens with flexible pockets for cables, cards or tools. This often makes sense for a creator kit that has a stable core device and changing small accessories.
Factory evidence: R080 records accordion-divider stitching. The evidence shows why divider construction is a structural decision rather than only a decorative detail. Evidence ID: MFG-STITCH-001, status REVIEW.
How to Plan the Layout
Start with a complete kit list. Include the camera body, every lens, batteries, charger, cable, card wallet, strap, microphone, small tripod and any protective caps. Mark each item as fixed, adjustable or loose.
Then map the user’s hand movement. The most frequently used item should be closest to the opening. Heavy items should not sit on top of delicate surfaces. Hard accessories should have their own pocket or buffer zone. A visually compact layout may still fail if the user must remove three items to reach the camera.
Use a top-view sketch with approximate cavity shapes, but treat it as a discussion tool. Final clearance should be checked with real samples. Published measurements do not show every grip, ring, screen hinge or protective film. For a bag divider, also specify whether the user wants repositionable walls or a fixed approved arrangement.
Protection, Access and Cleanability
Protection is a balance between holding force and access. A cavity that is too tight can create friction and frustrate the user. A cavity that is too loose lets the camera move into a hard divider or zipper path. The correct fit depends on surface finish, padding compression, device weight and the way the bag is carried.
Cleanability also matters for a retail product. Ask whether the lining catches dust, whether loose fibers are visible, and whether the divider edges remain covered after repeated adjustment. If the bag is sold for outdoor use, ask how dirt and moisture exposure should be handled. Do not describe the complete bag as waterproof without a finished-product test and approval.
What to Confirm Before Production
Send the factory:
- Complete device and accessory list.
- Real samples or measured drawings from multiple angles.
- Inner length, width and depth of the bag or case.
- Fixed versus adjustable cavity preference.
- Opening direction and removal method.
- Lining, padding, divider and closure preferences.
- Logo artwork, packaging plan and target quantity.
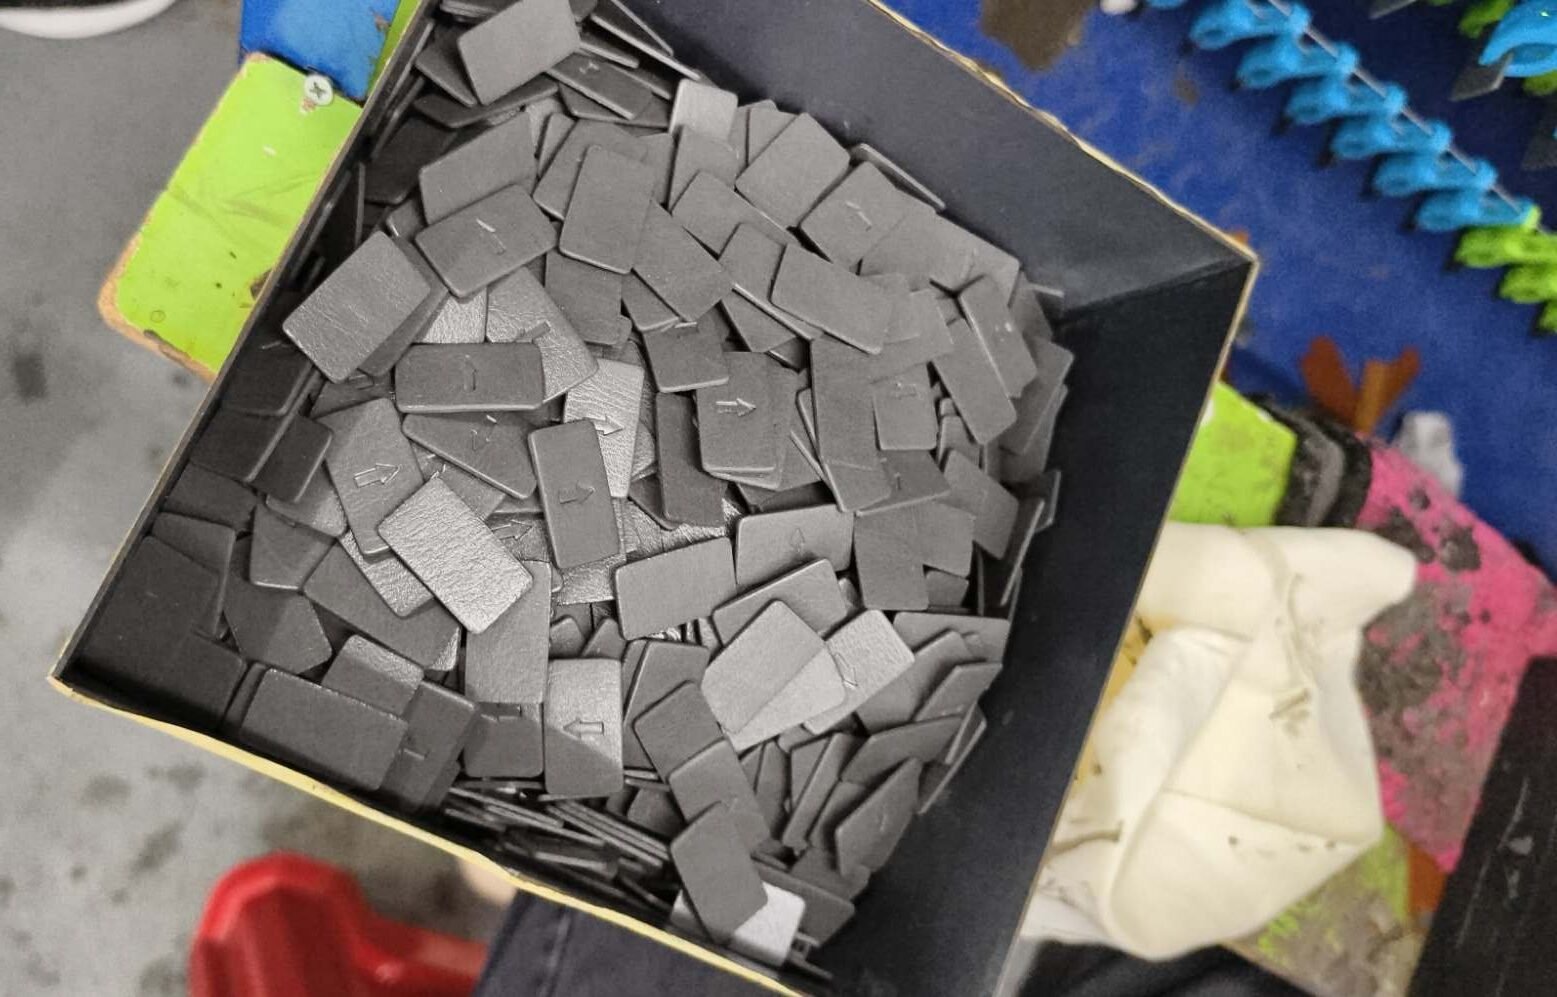
R105 records material cutting precision work. For a divider or insert kit, cutting consistency affects cavity shape, edge appearance and the way parts sit inside the shell. Evidence ID: MFG-QC-001, status REVIEW.
Before bulk production, approve a physical fit sample and a complete appearance sample. Confirm the insert-to-shell fit, divider alignment, edge coverage, pocket access and whether the bag closes without pressing on the device. Record all changes in the approved drawing or sample notes.
FAQ – Use Rank Math FAQ Block
What are camera bag dividers used for?
Camera bag dividers create separate padded compartments for cameras, lenses and accessories. They are useful when the user needs to change the layout as the kit changes.
Are camera bag inserts better than dividers?
Inserts provide more defined positioning and protection, while dividers provide more flexibility. The better choice depends on whether the device list is fixed and how often the user changes the layout.
How do I spec a custom camera bag insert?
Provide the bag inner size, complete device list, real samples or drawings, cavity layout, padding preference, access requirements and target quantity.
Can a divider kit fit an existing camera bag?
Yes, if the factory receives accurate inner dimensions and the preferred attachment method. A shell or bag sample reduces uncertainty during development.
What is the MOQ for custom camera inserts?
The standard minimum order quantity (MOQ) for this product family is 1000 units per order.
